

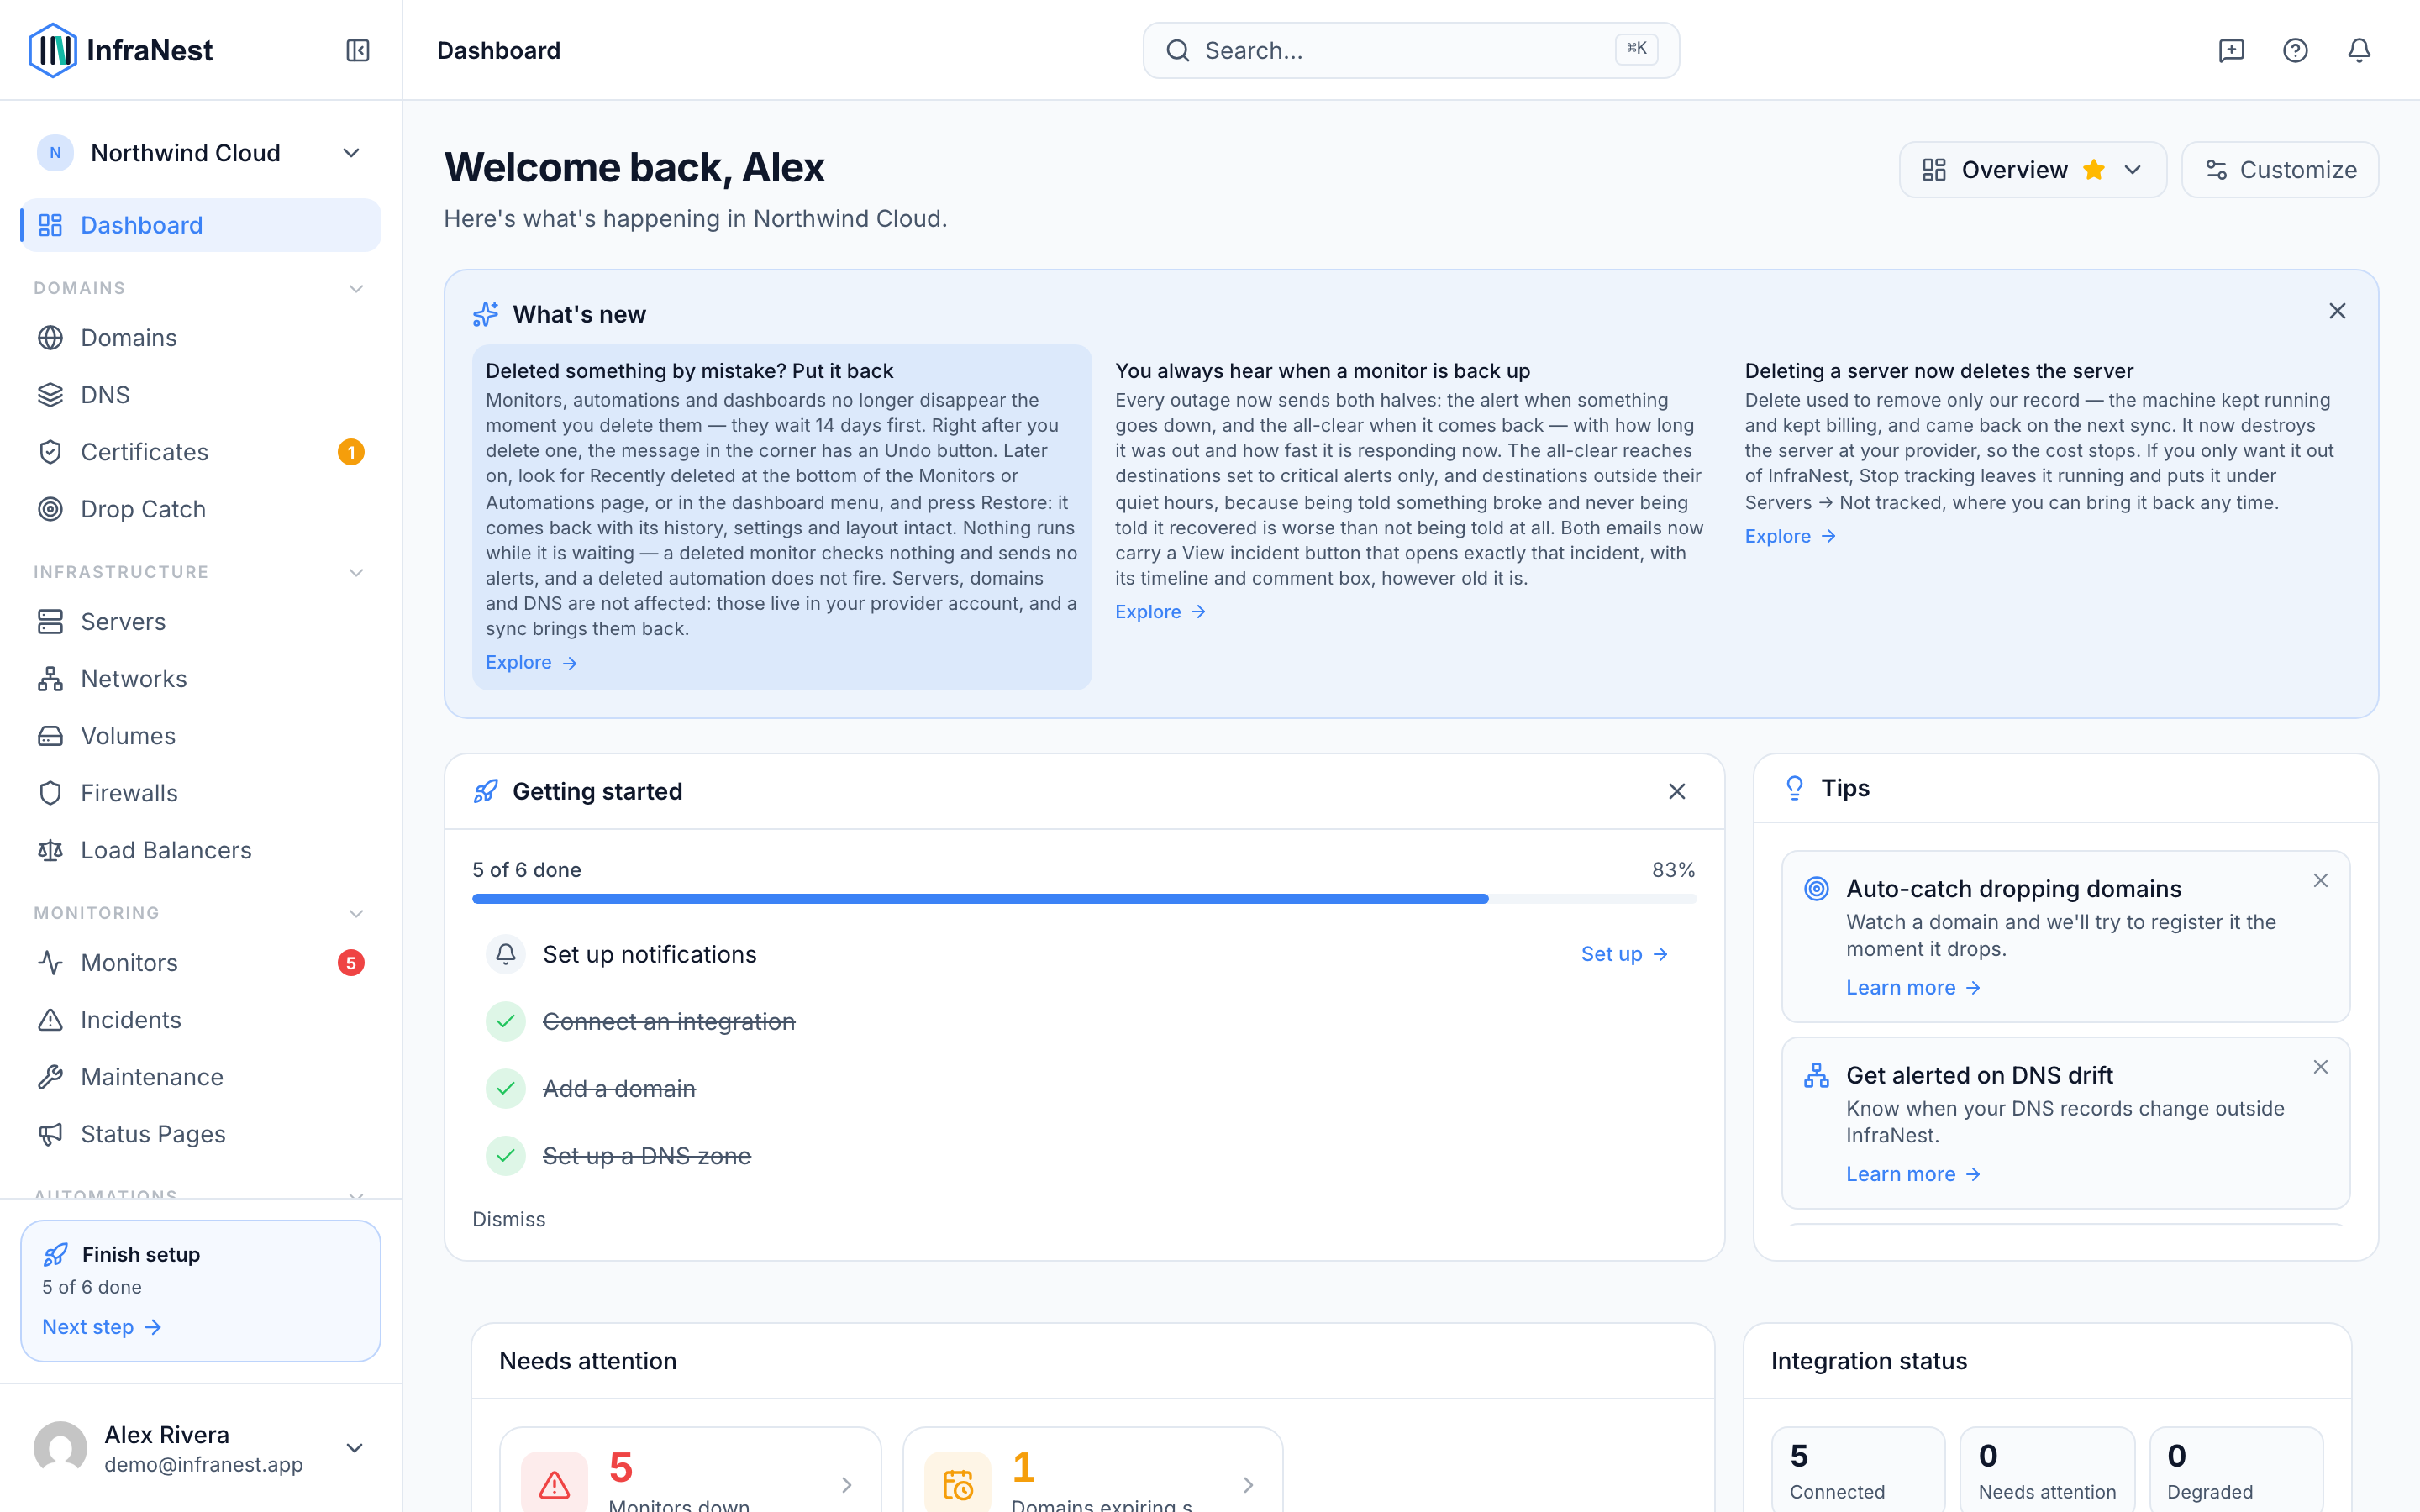
Your dashboard is the first thing you see when you sign in — a customisable overview of your domains, servers, monitors and more, built for anyone who manages infrastructure through InfraNest, not just technical admins.
Overview
- Dashboards are made up of widgets, and you decide which ones to show and where they go.
- You can create more than one dashboard — for example, one for domains and one for servers.
- Presets give you a ready-made layout to start from instead of building one from nothing.
- Some widgets can show trends over a date range, so you can look back over time.
How dashboards work
- Each dashboard is made of widgets. A widget shows one thing — a count, a chart, or a status tile for a part of InfraNest.
- You can create as many dashboards as you need, up to the limit noted below, and arrange each one differently.
- Set one dashboard as your default so it's the first thing you see when you sign in.
- When creating a dashboard, choose New dashboard, then pick either Blank dashboard or a preset such as Domains & DNS or Servers & Cloud to get started quickly.
- If a dashboard shows trends over time, use the date range control at the top to switch between 7 days, 30 days, 90 days and 12 months.
NoteYou can create up to 20 dashboards.
Create and customize a dashboard
- Select New dashboard.
- Choose Blank dashboard to start empty, or pick a preset (Overview, Domains & DNS, Drop Catch, Servers & Cloud, Monitoring) to start with a ready-made layout.
- Give your dashboard a name and select Create.
- Select Add widget to choose what to display, then use Configure widget to adjust its settings.
- Drag widgets to rearrange them, or resize them to fit your layout.
- Select Customize at any point to change the layout further.
- If you want to start over, select Reset layout to return the dashboard to its original arrangement, or Reset to defaults to undo all customizations.
- Select Save changes when you're happy with your layout. If you navigate away with unsaved edits, InfraNest will show You have unsaved changes as a reminder.
TipUse Set as default on the dashboard you check most often, so it opens automatically when you sign in.
Share a dashboard
- Open the dashboard you want to share.
- Select Share.
- Choose who can see it: Only me, Everyone in {org}, or Share with specific people.
- If you choose specific people, set their access level to Can view or Can edit.
- Select Done to save your sharing settings.
Once saved, you'll see a confirmation such as Sharing updated or Shared with organization, and the dashboard will show a Shared label so you know it's visible to others.
Manage your dashboards
- Open the dashboard you want to manage.
- Use Rename to give it a clearer name, or Duplicate to create a copy to experiment with.
- Use Import to bring in a dashboard layout, if available.
- To remove a dashboard you no longer need, select Delete dashboard. This cannot be undone, so make sure you don't need it first.
WarningDeleting a dashboard is permanent. If others rely on it, consider using Duplicate first instead of removing the original.
Tips
- Keep separate dashboards for different purposes — for example, one for Domains & DNS and another for Servers & Cloud — rather than cramming everything onto one screen.
- If a widget you added earlier seems to be missing, check Hidden widgets — it may have been hidden rather than removed.
Was this article helpful?
Related articles
Create and customize a dashboardBuild a dashboard that shows exactly what you care about — pick your widgets, arrange them, and start from a preset if you'd like a head start.Share a dashboardShare a dashboard you've built so your team sees the same overview — either with everyone in your organisation or with specific people.