

Manage all of your domain's DNS records from one editor, and let InfraNest keep them in sync with your provider automatically. This is for anyone who needs to add, change or remove DNS records without digging through their provider's own dashboard.
Overview
- Add, edit and delete records for a zone from a single screen.
- The editor automatically shows the right fields for each record type.
- Every change is pushed straight to your provider, and rolled back if the provider rejects it — so InfraNest and your provider never disagree.
Edit records
- Open a zone from the DNS page.
- Use the records table to add, edit or delete records. The editor shows the right fields for each type — for example Priority for MX, the Proxy status setting for Cloudflare, plus TTL and an optional comment.
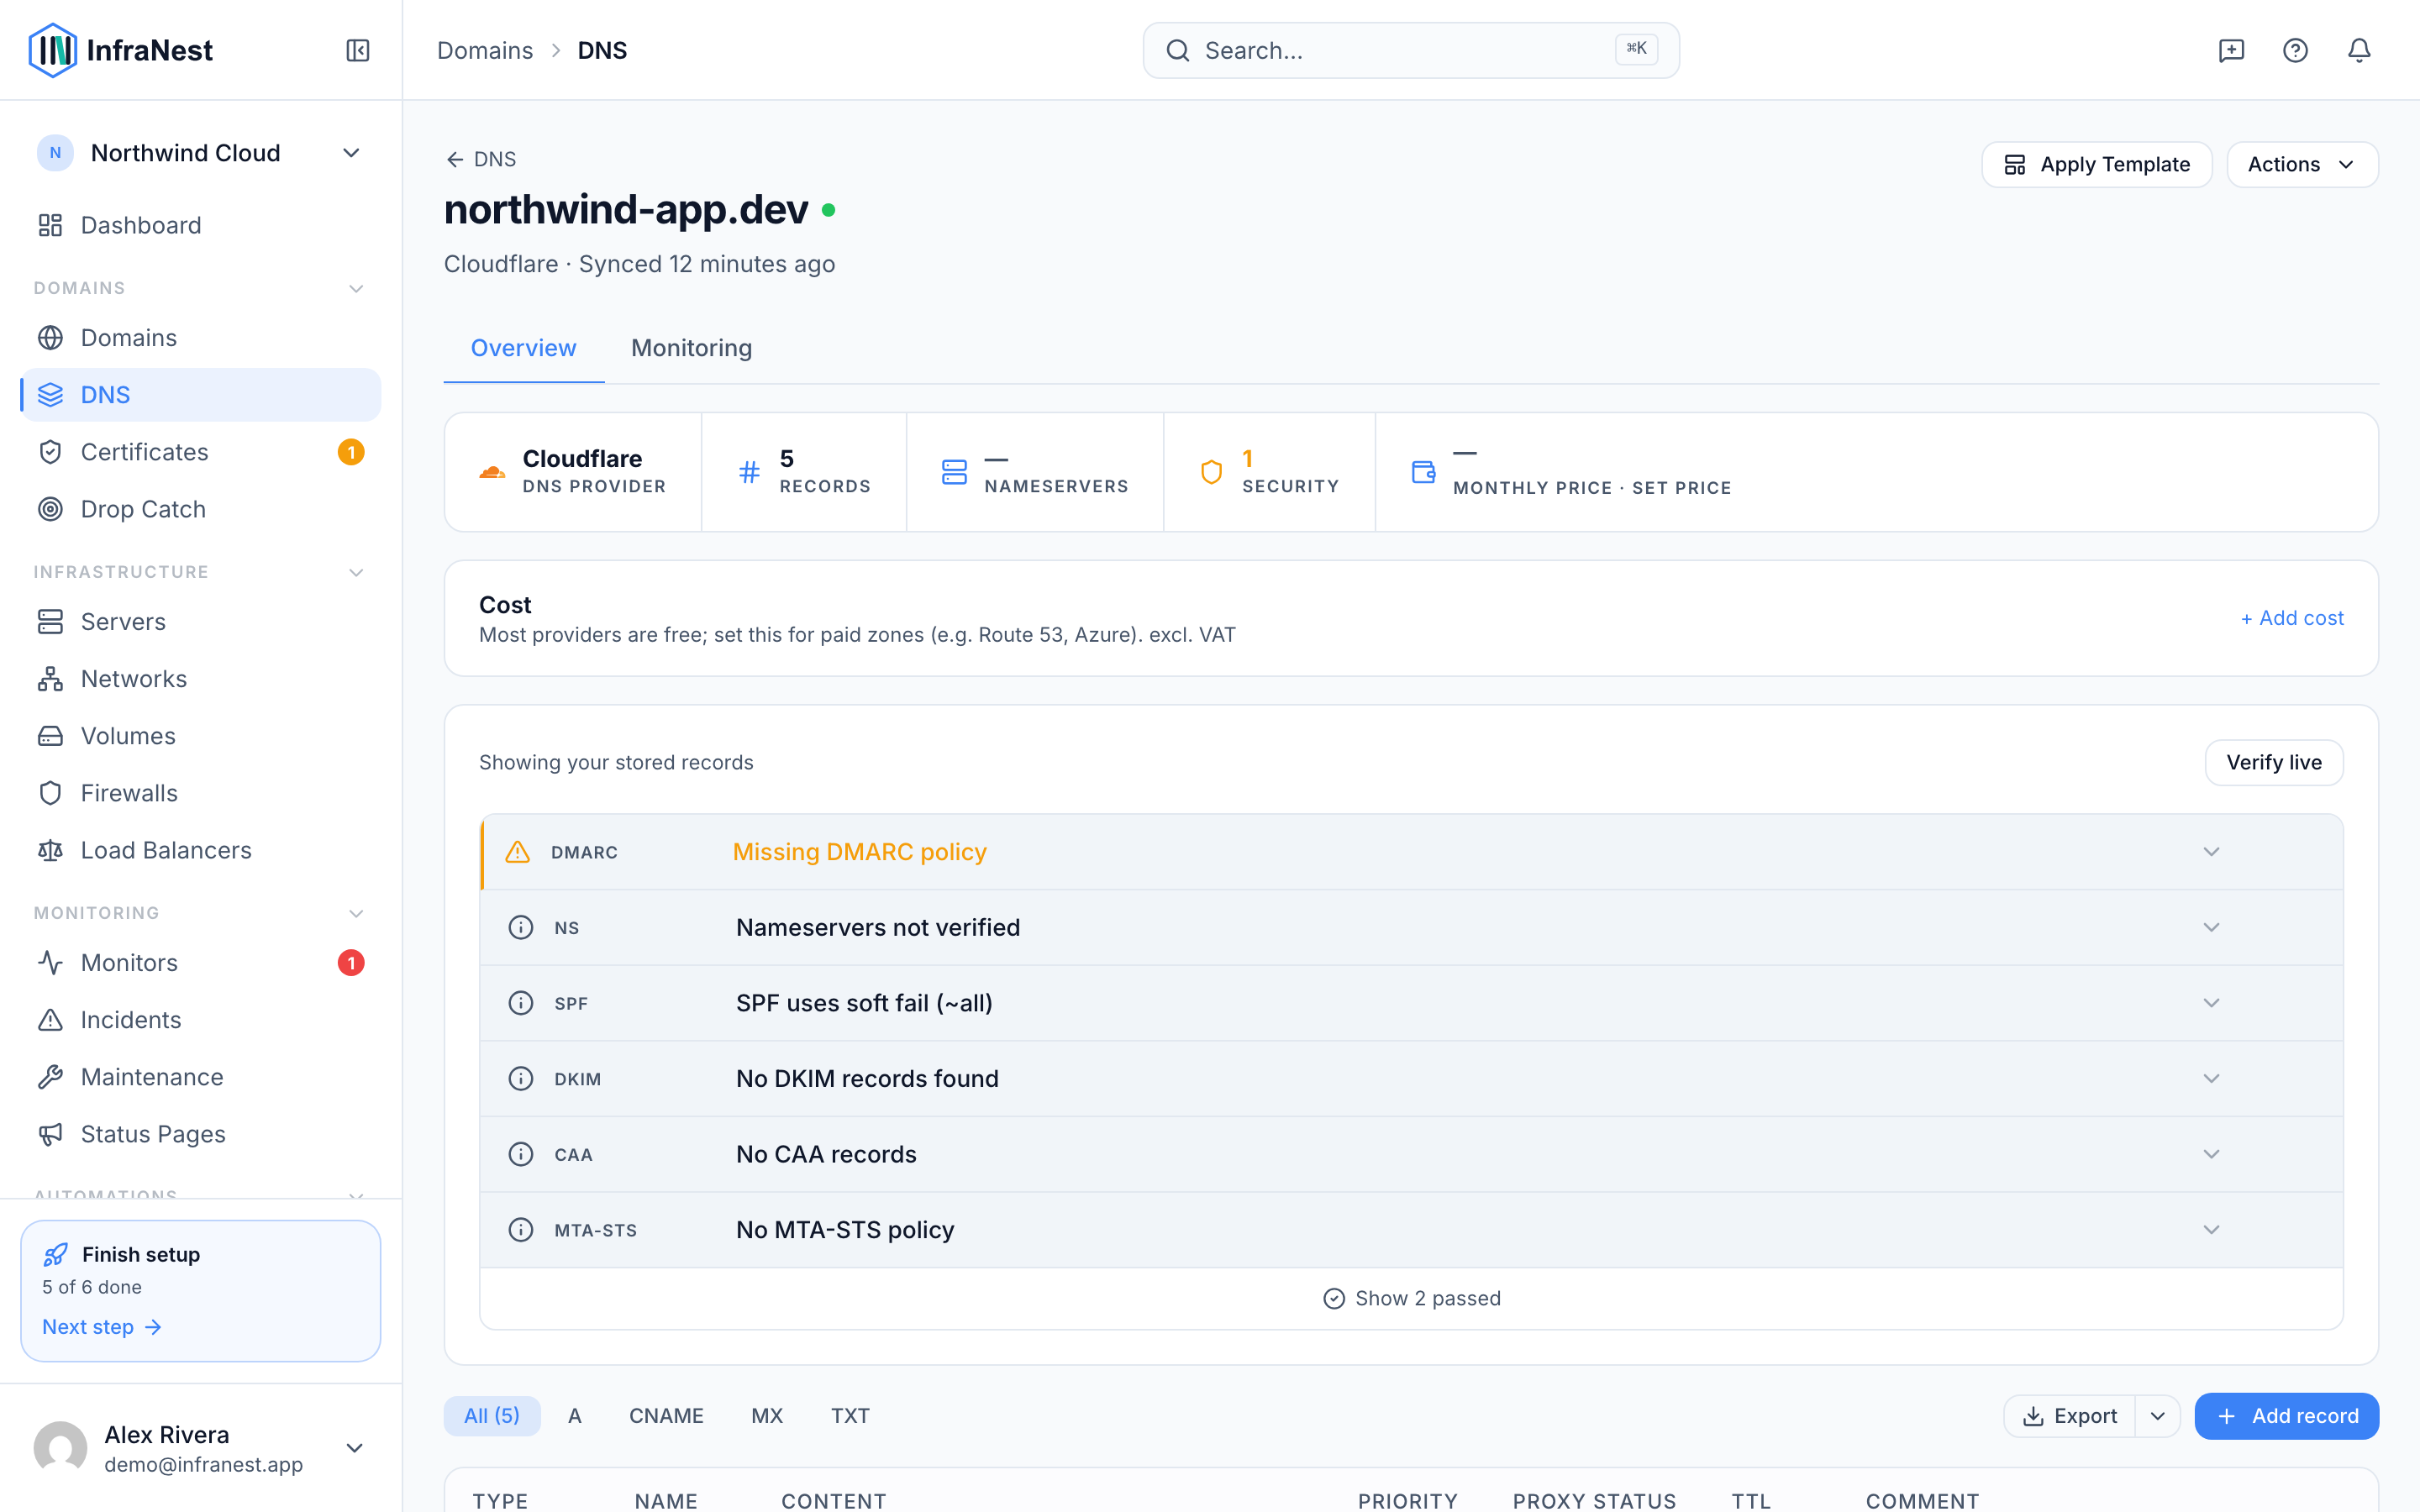
- Select Save record. The change is pushed to your provider. If the provider rejects it, InfraNest rolls the change back, so the two never disagree.
Keep a zone up to date
- Select Refresh to pull the latest records from the provider at any time. This also happens automatically on a schedule.
- To clone records from another zone, use Import from a connected account or the copy option to bring another zone's records into this one.
- Use Re-scan DNS to import records by reading the zone's live DNS.
Drift
If records are changed at the provider outside InfraNest, the zone is flagged with out of sync, meaning records changed outside InfraNest. This way a surprise change never goes unnoticed.
- Open the zone showing the out-of-sync flag.
- Select Refresh to sync the zone and bring InfraNest back in line with the provider.
TipAny A or AAAA record can follow a changing IP automatically — see Dynamic IPs.
NoteThe editor shows the fields relevant to each record type, so you'll only see options like Priority, Proxy status or Comment when they apply.
Was this article helpful?
Related articles
About DNSInfraNest manages the DNS for all your domains in one place, whichever provider hosts it.Add a DNS zoneCreate a DNS zone with a short wizard that does the cross-provider work for you — including pointing your domain at the new provider.Check DNS and email securityEach zone has a Security Advisor that checks the DNS records that matter for email delivery and security — reading your domain's live DNS, so it's accurate…