

Add a DNS zone to bring a domain under InfraNest's management, with a wizard that handles moving it between providers for you. It's for anyone setting up a new domain or migrating one to a different DNS provider.
Overview
- Creates a DNS zone at the provider you choose and fills it with records automatically.
- Detects which provider currently runs your domain by checking its live nameservers.
- Can update your domain's nameservers at the registrar in the same flow, so you don't need to jump between dashboards.
- Once set up, the zone is watched for drift going forward.
Create a zone
- Go to DNS and select Add a DNS zone.
- Enter the domain name in the Domain name field. InfraNest matches it to a domain in your portfolio and detects which DNS provider currently runs it, based on its live nameservers.
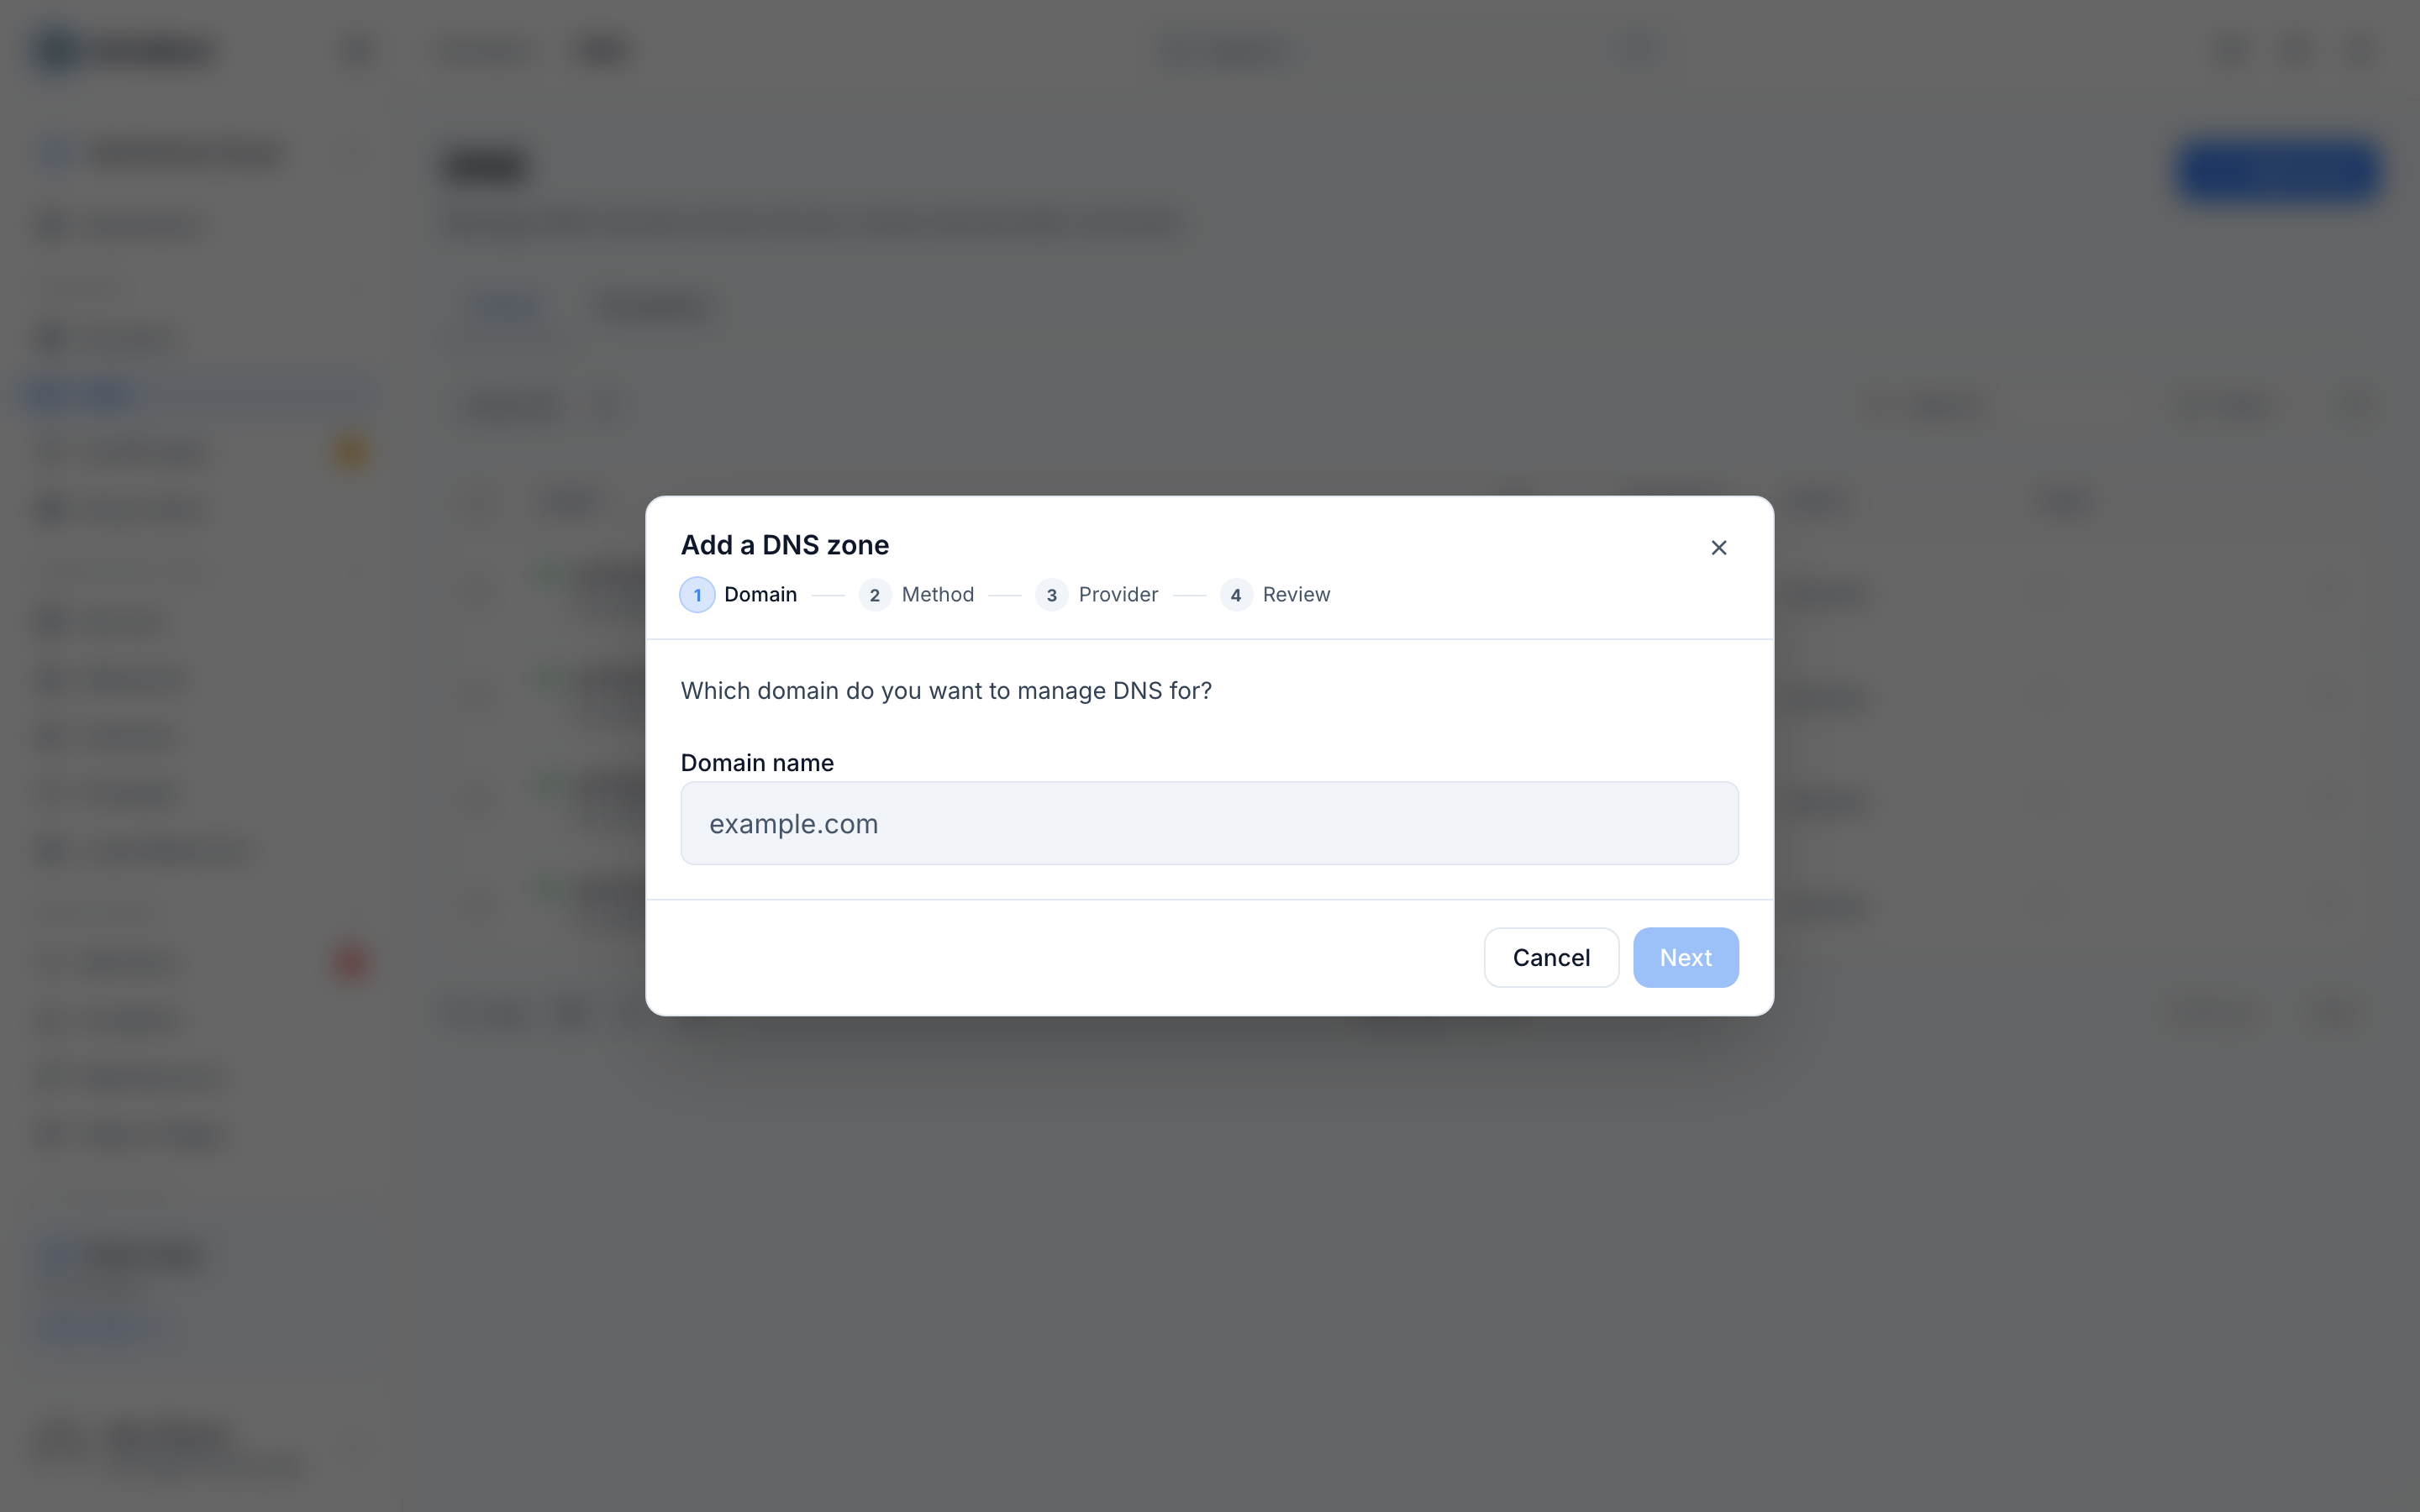
- Choose how to fill the zone:
- Scan DNS records automatically — reads the domain's live DNS and imports the records it finds, so the new zone matches what's working now.
- Import from a connected account — copies the records from an existing zone at a provider you've connected.
- Apply a template — starts the zone from a DNS template (see DNS Templates).
- Manually enter DNS records — starts blank.
- Continue through the wizard. InfraNest creates the zone at your chosen DNS Provider and picks up its Nameservers.
- If the domain is at a connected registrar, the wizard offers to Update nameservers at registrar in one step, pointing the domain at the new provider — no second dashboard needed.
- Select Confirm to finish.
NoteOnce the zone is created, InfraNest's drift detection keeps watching it, so you'll know if records change unexpectedly.
TipIf you're not sure which option to pick in step 3, Scan DNS records automatically is the safest choice — it copies exactly what's already live, so nothing breaks when you switch providers.
Was this article helpful?
Related articles
About DNSInfraNest manages the DNS for all your domains in one place, whichever provider hosts it.Check DNS and email securityEach zone has a Security Advisor that checks the DNS records that matter for email delivery and security — reading your domain's live DNS, so it's accurate…Add and edit DNS recordsAdd, edit and delete DNS records in one editor — InfraNest pushes each change to your provider.