

Alerts let InfraNest tell you the moment something needs attention — a monitor going down, a certificate about to expire, a domain at risk of lapsing. This article covers how to set up where alerts go and how to control which ones reach you.
Overview
- Destinations are where alerts get delivered — set them up once under Destinations.
- You choose which alerts go to which destination, and can route by severity so only critical events reach certain places.
- The Activity tab keeps a timeline of every alert sent, so you can confirm delivery.
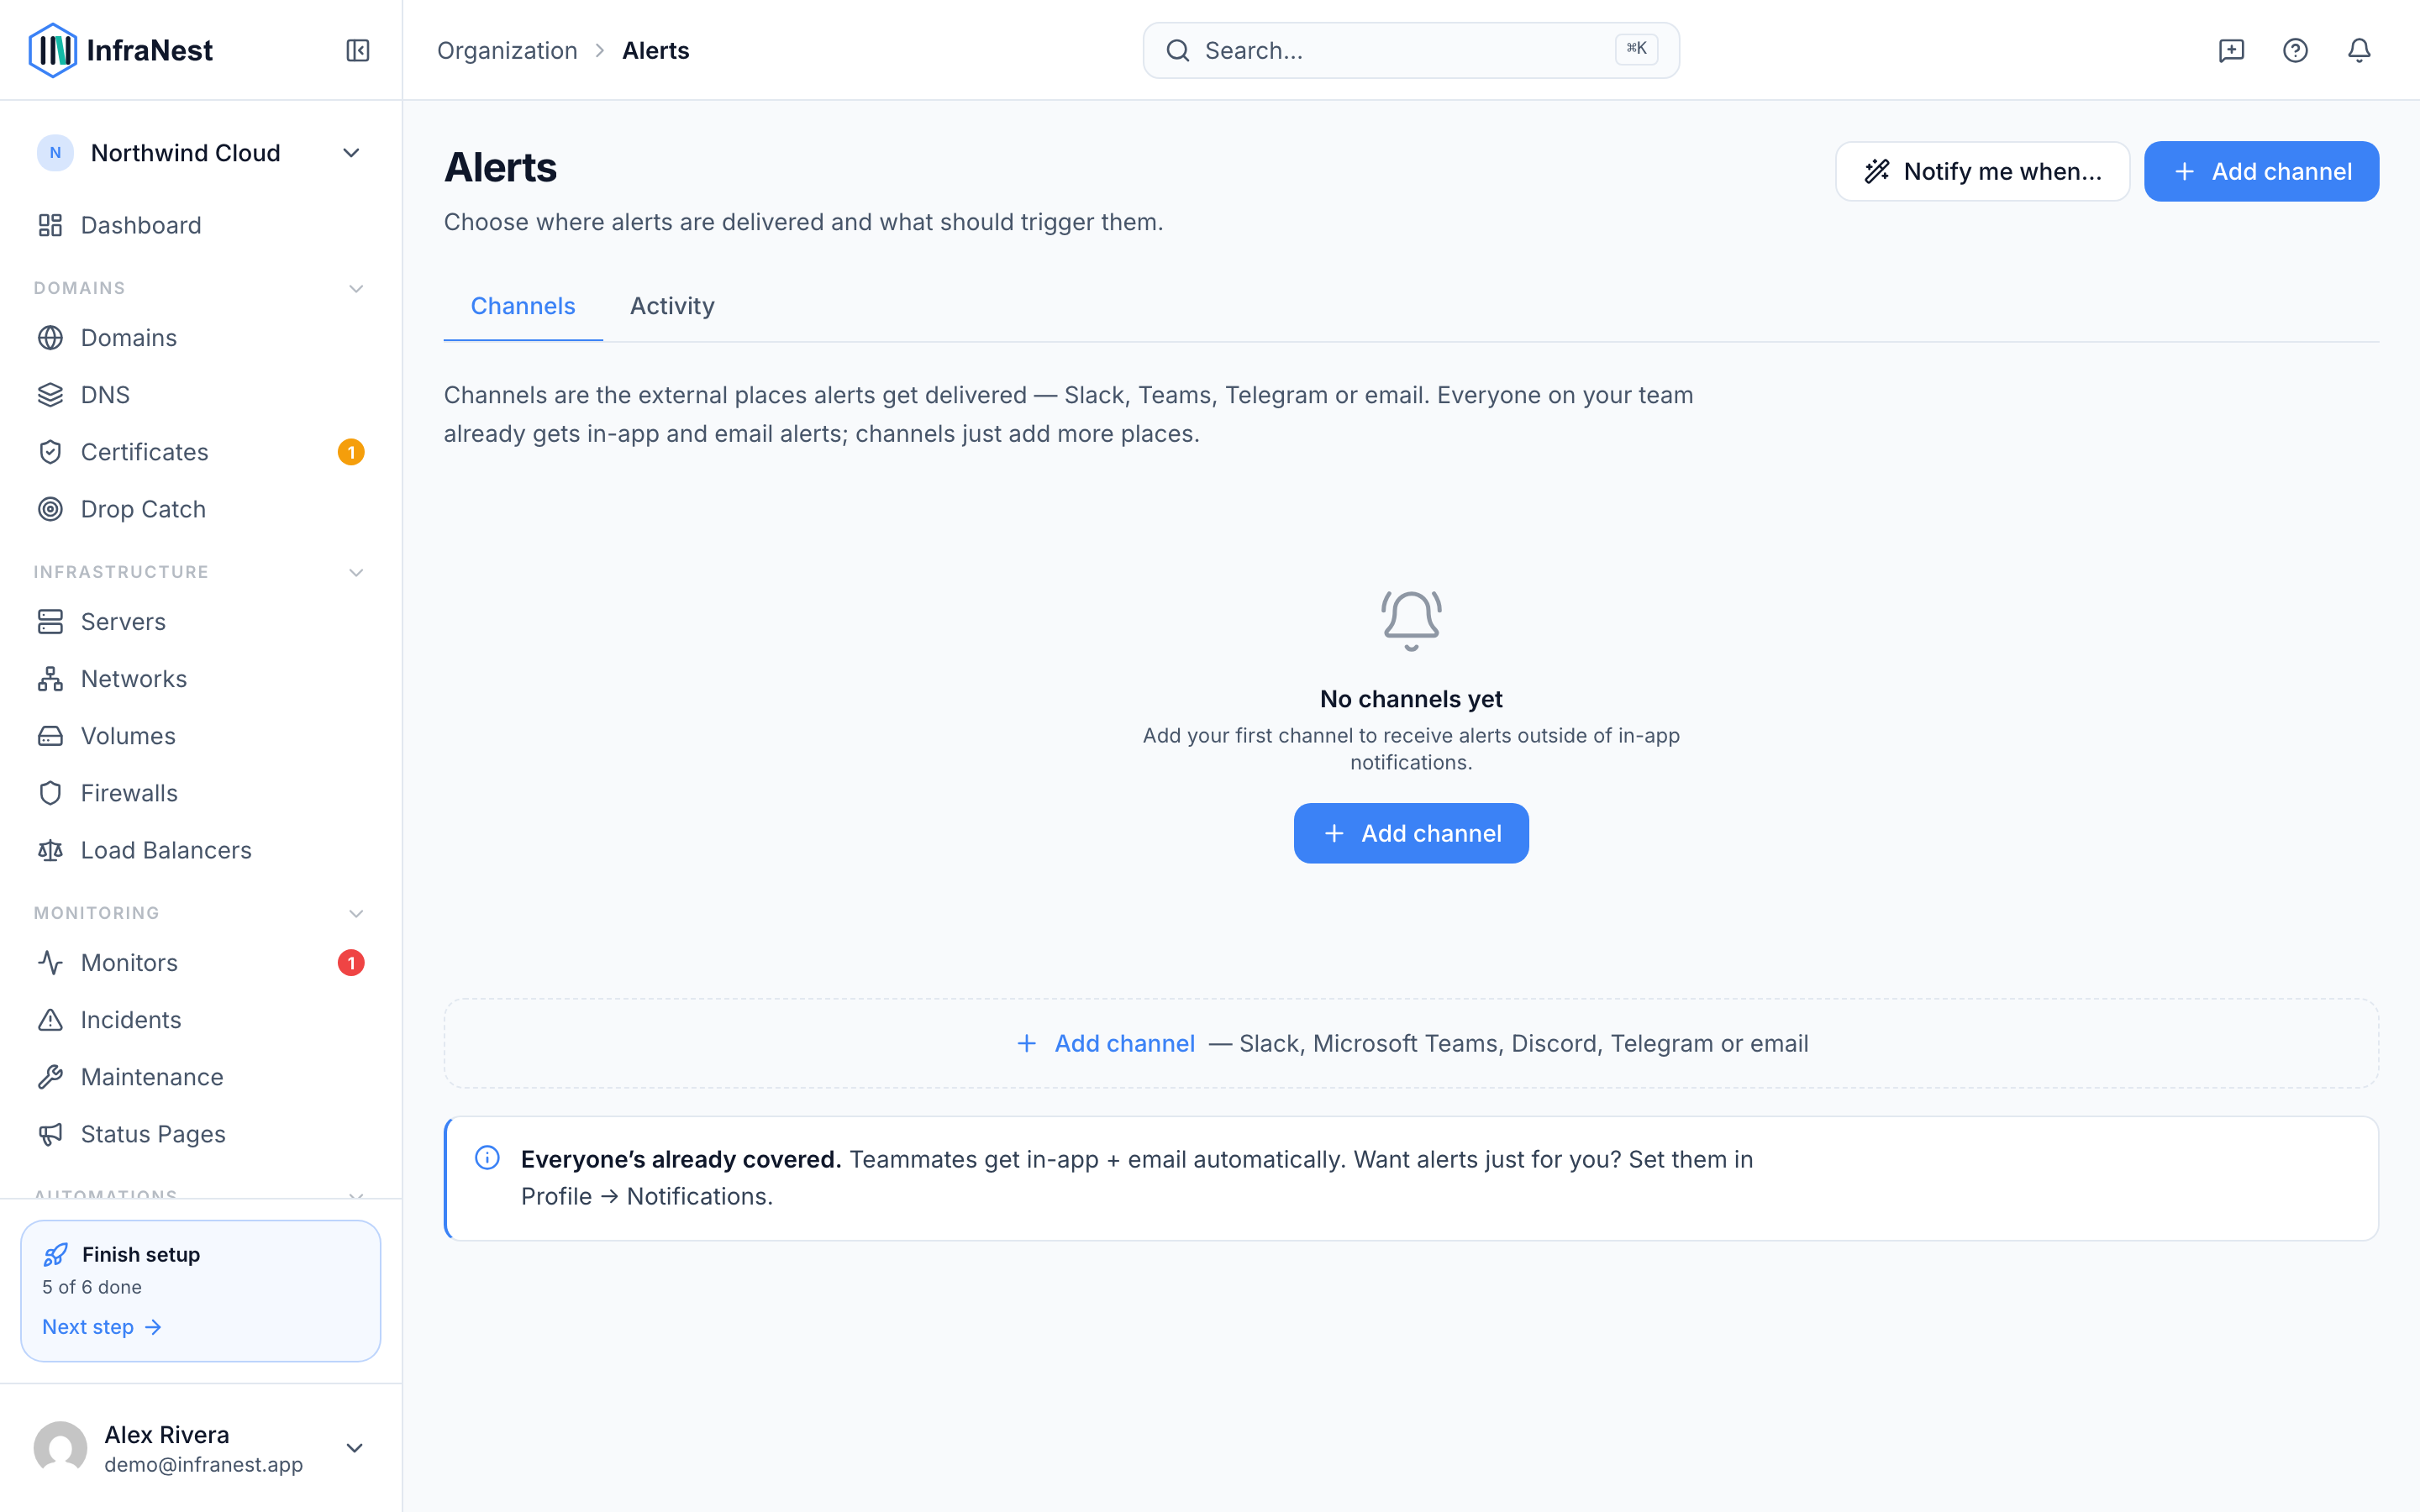
Add a destination
- Go to Alerts, then open the Destinations tab.
- If this is your first one, select Add your first channel. Otherwise, select Connect a new destination or Add channel.
- Choose the type of destination: Discord, Slack, Microsoft Teams, Telegram, Telegram (Custom Bot), or an email/webhook option (for example Send alerts to any email address or Page your on-call via PagerDuty).
- Fill in the required details for that destination — for example, an email address, a Slack webhook URL, a Telegram bot token and Chat ID, or an Incoming webhook URL.
- Give it a clear Channel name so you can recognise it later.
- Select Save & test to save the destination and confirm it's working. You should see Test sent successfully; if not, you'll see Test failed and can adjust the details and try again.
TipUse Send test any time from an existing destination's settings to confirm it's still working, without waiting for a real alert.
Choose where alerts go
- Open the specific item you want to configure alerts for — a monitor, server, DNS zone, or domain.
- Find its alert or notification settings and select which destinations should receive alerts for it.
- Optionally set the routing to Critical only (or Critical only outside {from}–{to} for quiet hours) instead of All events, so routine alerts don't reach that destination.
- Select Save changes.
NoteEven if a destination is set to Critical only or has quiet hours configured, it will still always receive the all-clear when something it was alerted about recovers — so you'll never be left thinking an issue is still ongoing.
Review alert history
- Go to Alerts and open the Activity tab.
- Browse the timeline, grouped by when alerts were sent (Today, Yesterday, Earlier this week, Older).
- Check what fired, when, and which destination it was sent to, to confirm delivery or review past incidents.
Manage existing destinations
- Go to Alerts → Destinations.
- Select a destination to open Edit alert channel.
- Update its details, or use Send test to verify it still works.
- To remove a destination you no longer need, select Delete channel.
Tips
- Destinations can be personal (just for you) or shared with your organisation — decide this when adding one.
- Alerts also show up in the in-app Notifications bell, in addition to any destinations you've set up.
- To change which emails you personally receive, that's handled separately under your account's notification preferences, not here.
Troubleshooting
- Test failed — double-check the details you entered (webhook URL, bot token, Chat ID, or email address) and try Send test again.
- Not receiving alerts you expect — check that the destination is attached to the right item (monitor, server, DNS zone, or domain), and that its routing isn't set to Critical only if you wanted routine alerts too.
- Destination missing from the list — it may have been deleted; select Add channel to reconnect it.
Was this article helpful?