

Everything in InfraNest — domains, servers, members, billing — belongs to an organization, and this article shows you how to manage yours.
Overview
- Domains, servers, team members, and billing all live inside an organization.
- You can belong to more than one organization and switch between them at any time.
- Each organization has its own Settings for identity, notifications, security, and billing.
Switch or create an organization
- Open the organization switcher.
- Select the organization you want to work in to switch to it, or choose New organization to start a fresh one.
- If you're creating a new organization, follow the prompts and select Create organization to confirm.
NoteYou can see how many organizations you have out of your plan's limit — shown as {used} of {limit} organizations. If you're at your limit, you'll see Failed to create organization when you try to add another.
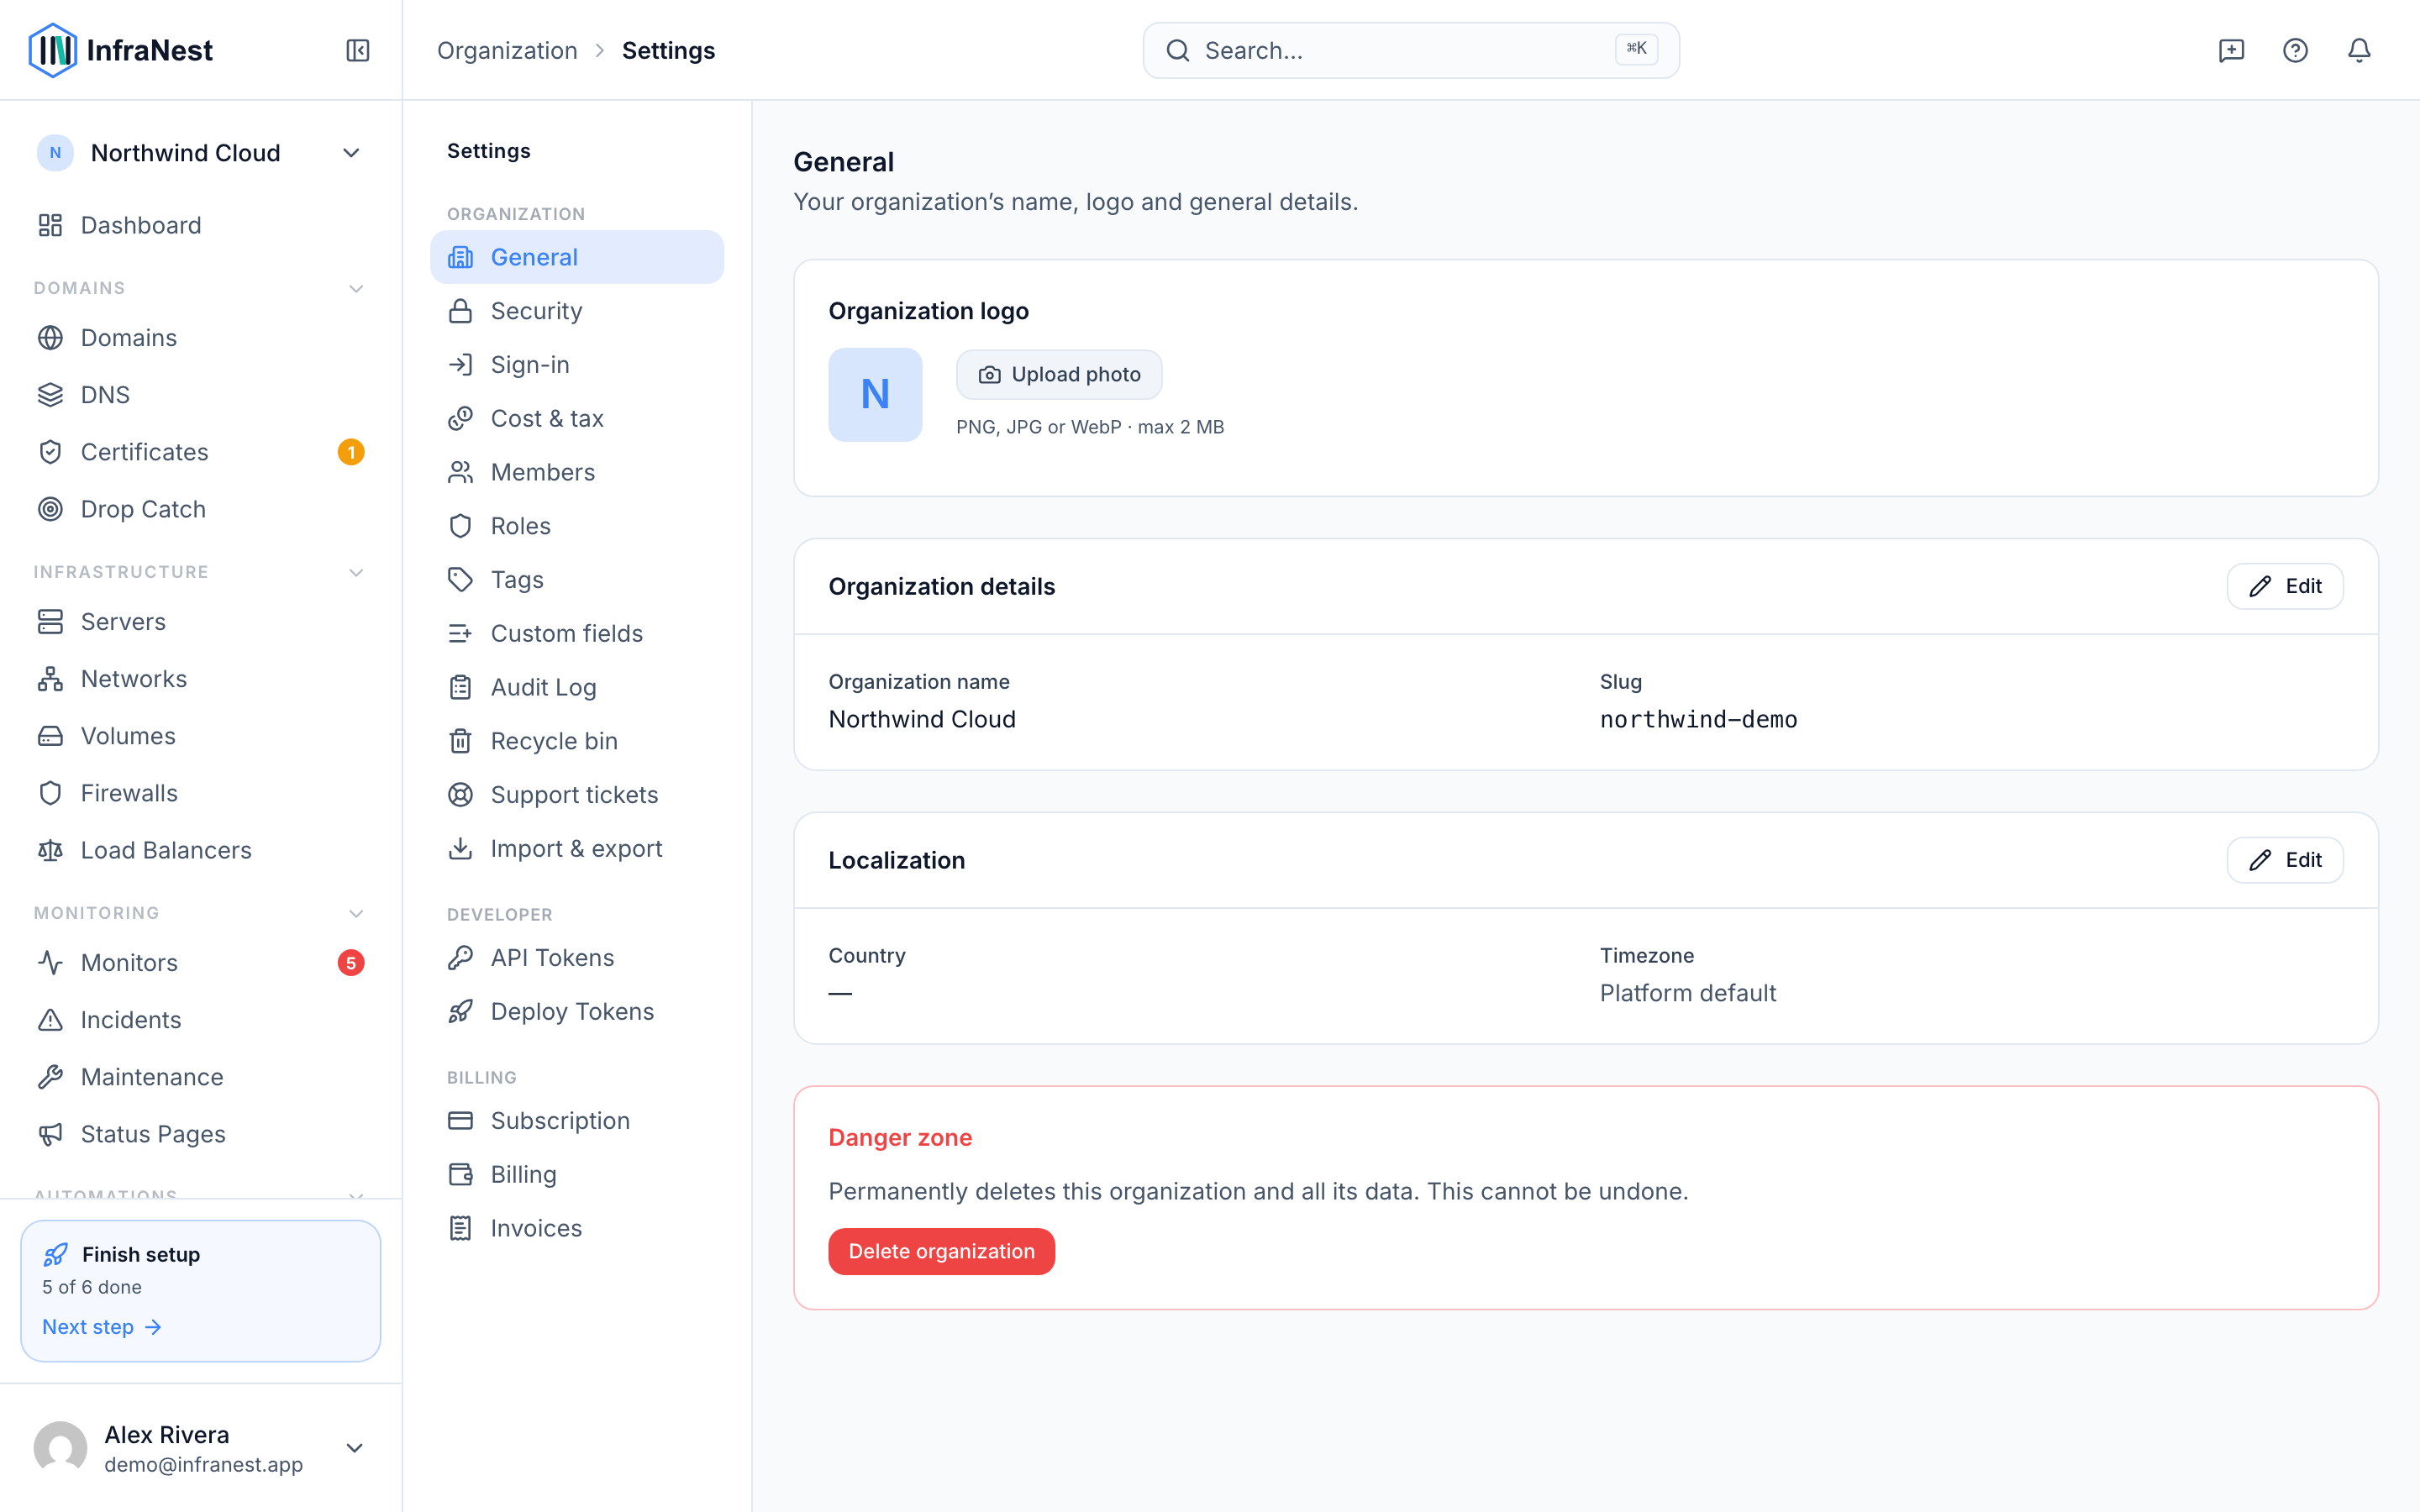
Update organization settings
- Go to Settings.
- Update the organization's name, slug, and avatar as needed.
- Choose the default notification policy for the organization.
- Turn on or off whether sensitive actions require re-authentication.
- Review your Dynamic IP defaults.
- Select Save changes when you're done.
TipIf you see You have unsaved changes, don't navigate away until you select Save changes — otherwise your edits will be lost.
Manage billing
- From Settings, open Billing.
- Review your current plan and usage.
- Make any changes needed to keep your organization's billing up to date.
Troubleshooting
- If your changes don't seem to save, check for a Save failed message and try again.
- If a page shows Failed to load, select Refresh to try again.
- If you can't create a new organization, check your {used} of {limit} organizations count — you may need to upgrade your plan first.
Was this article helpful?