

Roles and permissions control what each member of your organisation can see and do in InfraNest — this article is for anyone who manages a team.
Overview
- InfraNest comes with built-in roles that cover most needs.
- If you need finer control, you can create custom roles with their own permissions.
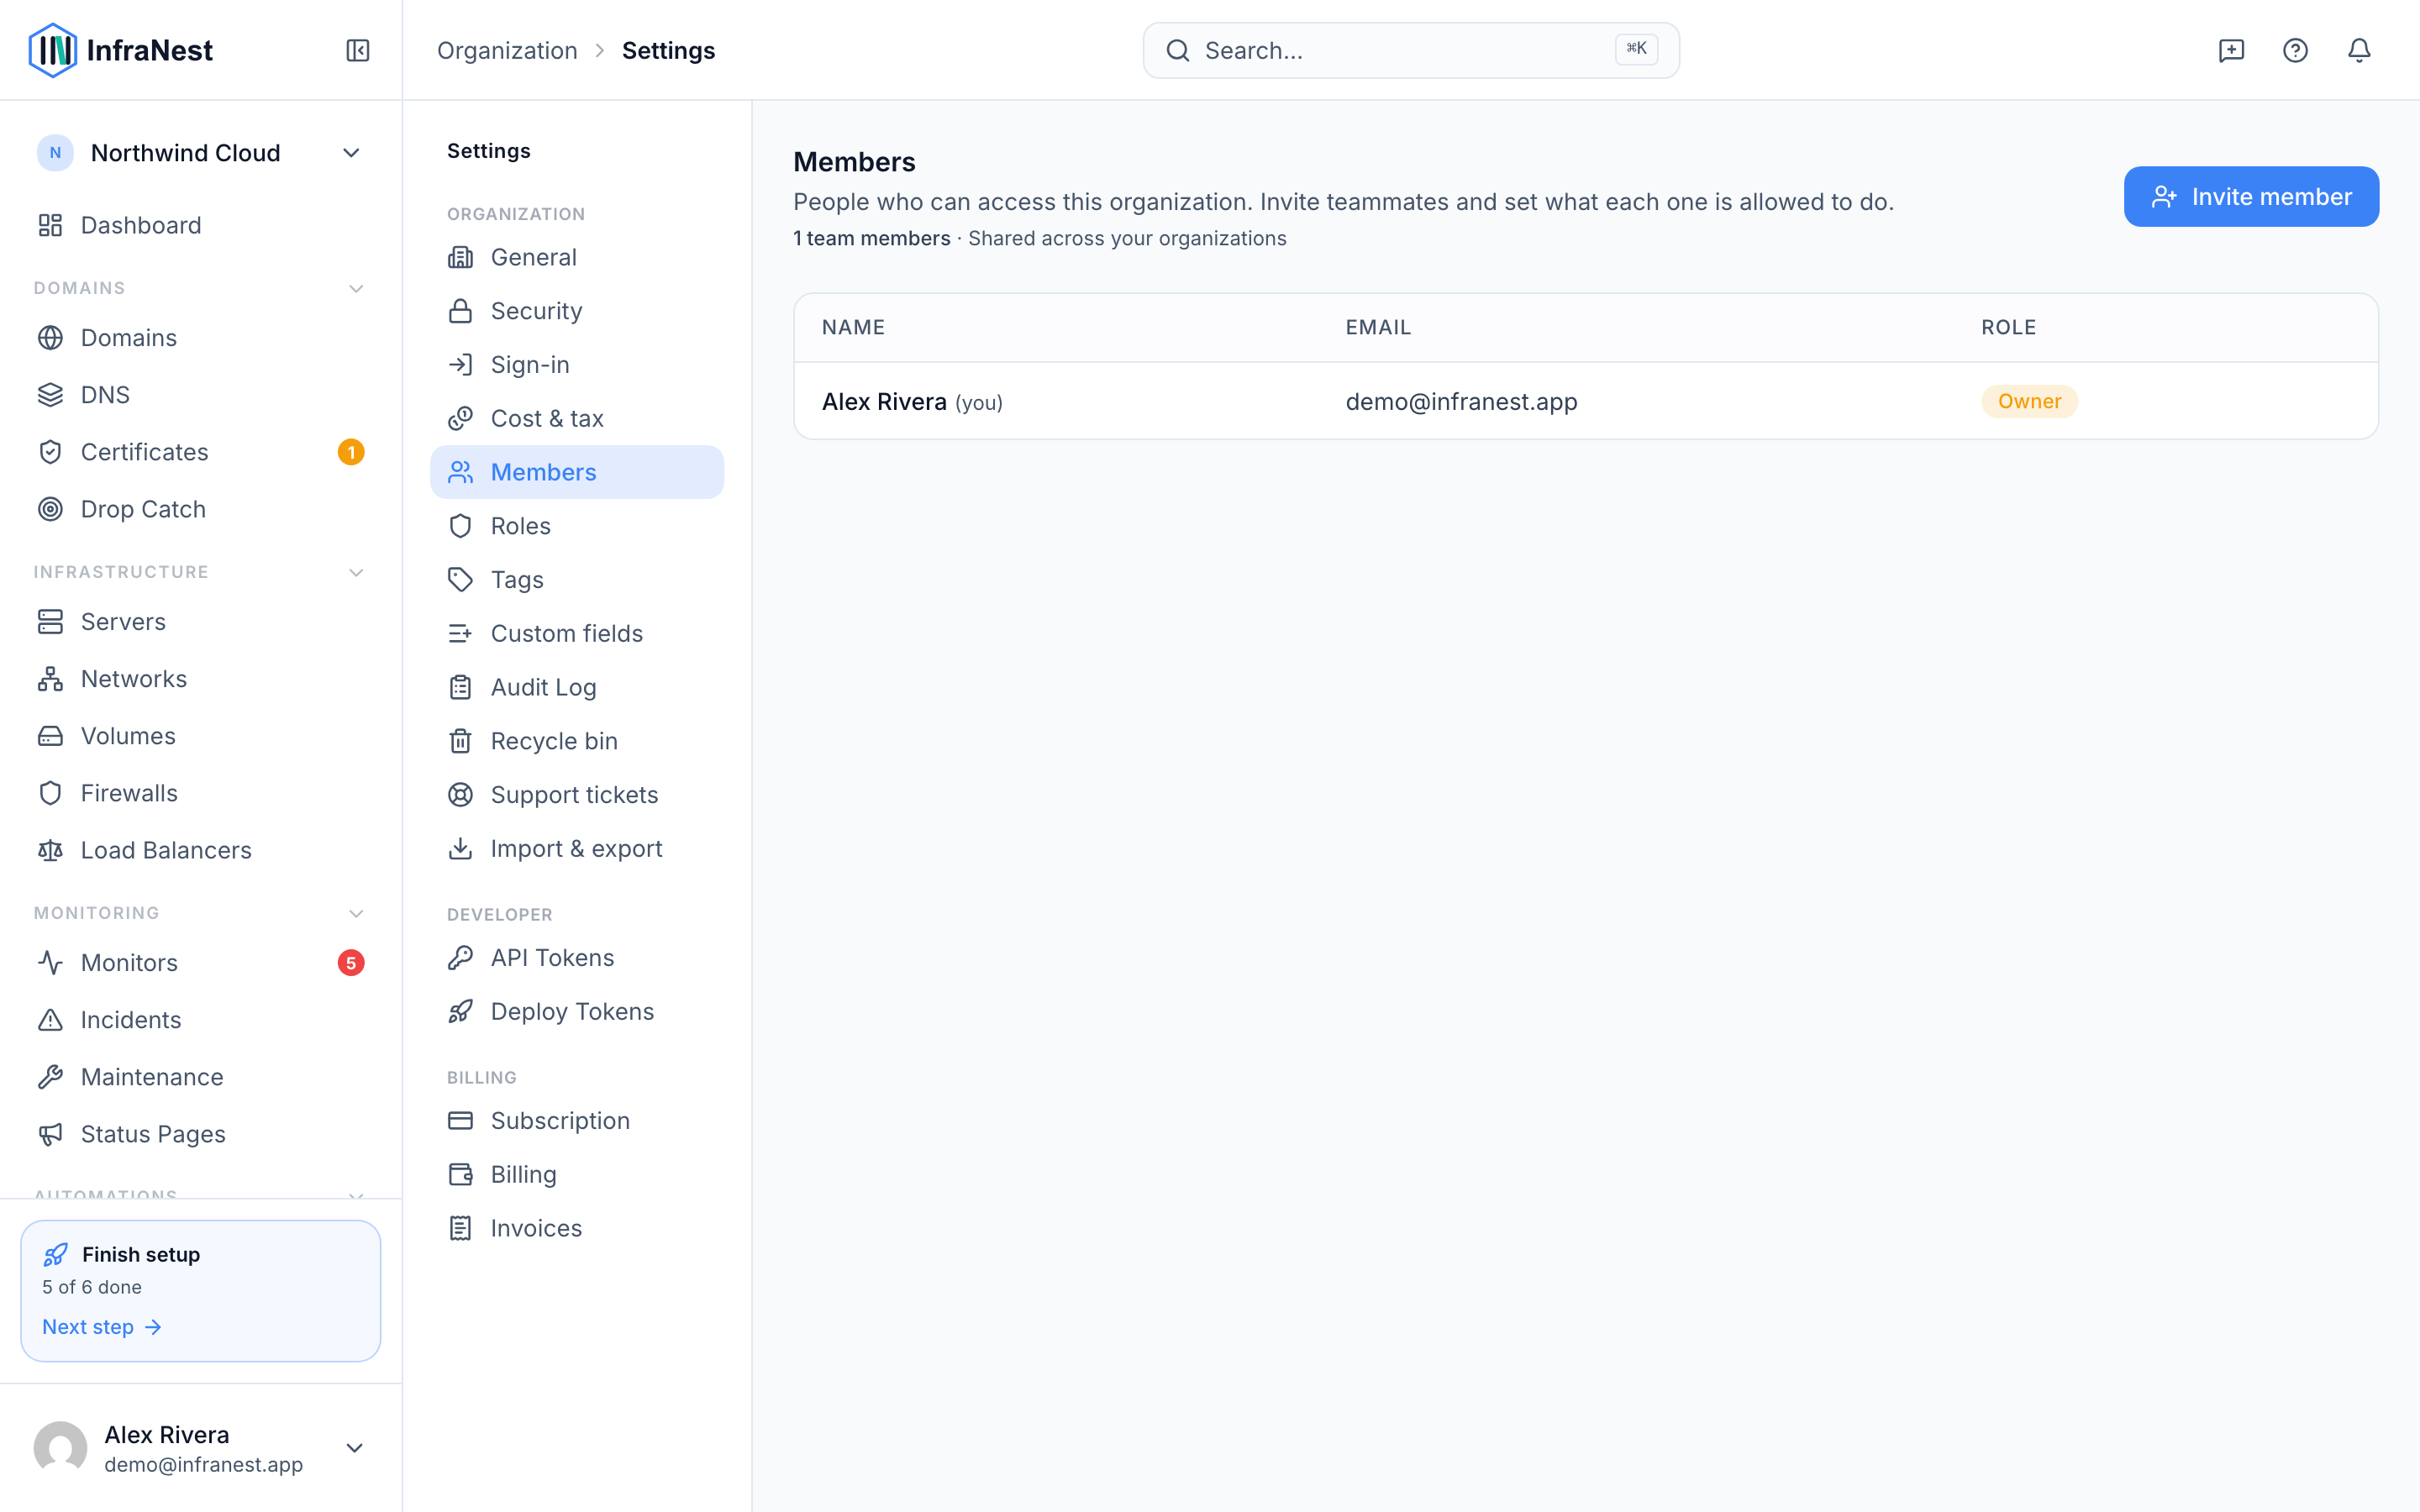
- Roles are managed from Team, alongside your other member settings.
Understand the built-in roles
InfraNest includes three roles that every organisation shares:
- Owner — full control of the organisation.
- Admin — can manage resources and members.
- Member — has day-to-day access.
These built-in roles can't be deleted, so they'll always be available to assign.
Create a custom role
Custom roles let you fine-tune access using a permission matrix, where you choose read, write, and (where it applies) delete access for each area — including cloud resources, DNS, domains, monitoring and certificates, as well as managing members, billing, and roles.
- Go to Team and open Roles.
- Select New to create a role.
- Tick the permissions it should have.
- Select Save to store the role.
Once the role is created, you can assign it to any member.
NoteThe full, always-up-to-date list of roles and permissions is available to admins in your settings.
Assign a role to a member
- Go to Team.
- Find the member you want to update.
- Select Edit next to their name.
- Choose the role to assign — this can be a built-in role or a custom role you've created.
- Select Save changes.
Tips
TipStart new custom roles with read-only access, then add write or delete permissions only where a member truly needs them. It's easier to grant more access later than to undo mistakes.
Was this article helpful?