

Connect your Hetzner account to InfraNest so you can manage your cloud servers, DNS and SSL certificates in one place, without switching tools.
Overview
- Once connected, your Hetzner servers, DNS zones and certificates appear automatically in InfraNest.
- You can control servers, edit DNS records and manage certificates without leaving InfraNest.
- One connection covers all of these features, so there's no need to set each one up separately.
Before you start
You'll need a Hetzner API token with Read & Write access. See Create a Hetzner API token for the steps.
NoteThe same token covers both your Hetzner cloud resources and your Hetzner DNS zones.
Connect Hetzner
- Go to Integrations and open Hetzner.
- Give the connection an Account label so you can recognise it later. This is optional.
- Choose which features to use it for: Cloud, DNS and Certificates.
- Paste your API token.
- Leave Email me when this integration has problems ticked if you'd like a heads-up by email if something goes wrong.
- Select Connect.
InfraNest checks the token and starts bringing in your servers and zones straight away.
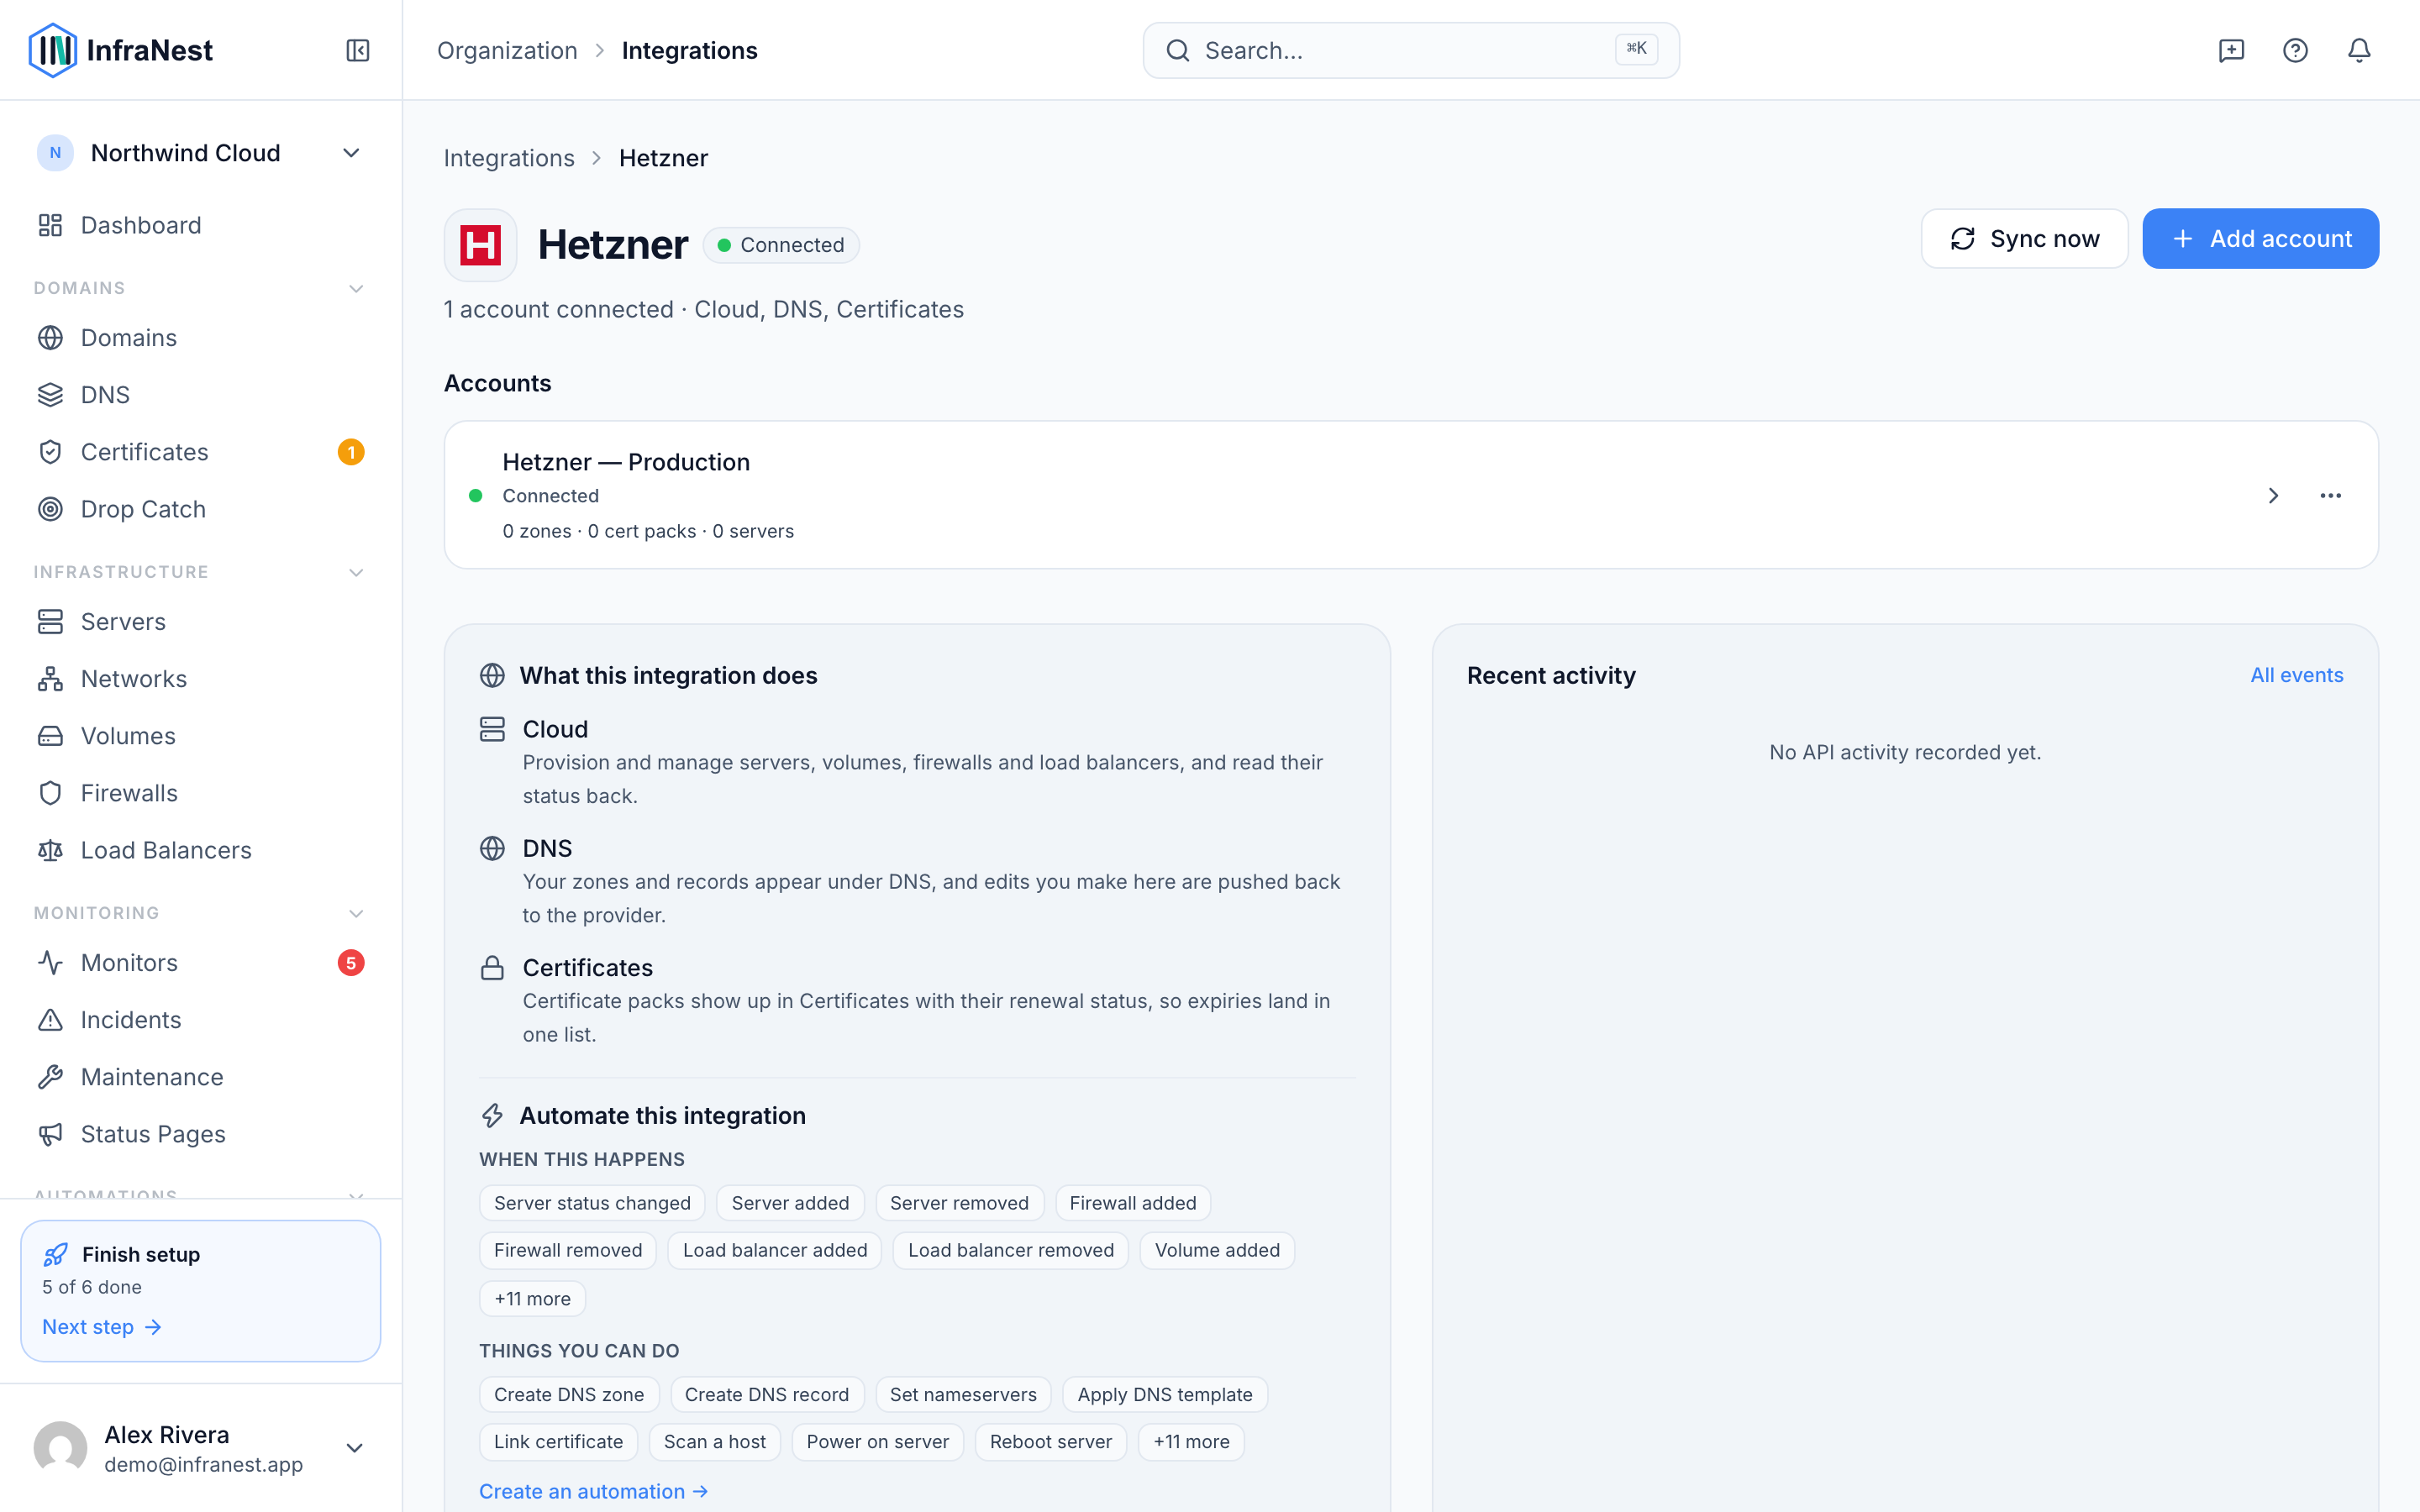
What you get once it's connected
- Cloud servers — see and manage your servers: power on/off, reboot, rebuild, snapshots and backups, firewalls, volumes, private networks and load balancers.
- DNS — view and edit your DNS zones and records, and create or delete zones.
- SSL certificates — your Hetzner certificates appear in your certificate list.
Tips
- You can connect more than one Hetzner project — just add another connection.
NoteHetzner doesn't sell domains, so there's no domain-registration feature here.
Troubleshooting
- "Authentication failed" — the token may be wrong or removed. Generate a new Read & Write token in the Hetzner Cloud Console and reconnect.
- Nothing appears after connecting — make sure the token has Read & Write access (read-only can't manage resources), then run the sync again from the Hetzner page under Integrations.
Was this article helpful?